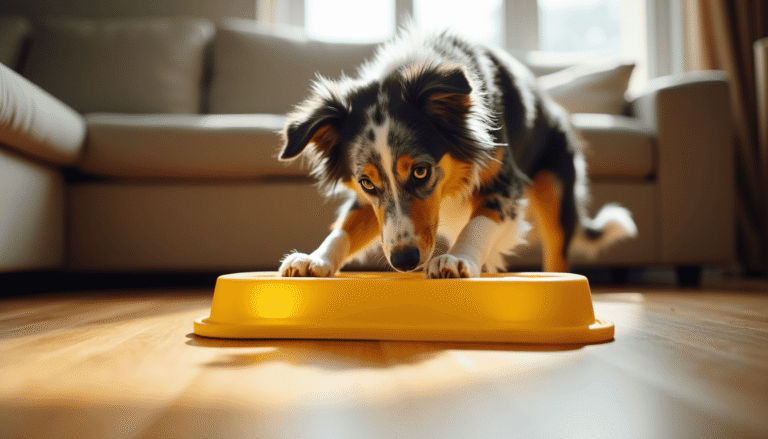
Your dog is staring at you, and the best diy dog enrichment toys you own are a tennis ball and a rope that’s been chewed to a fringe — so you improvise. A muffin tin, a handful of kibble, and a few tennis balls later, your dog is nose-deep in a puzzle that cost you nothing and bought you twenty minutes of quiet. That’s the whole premise of this post: functional, buildable toys from stuff already in your house, plus a few worth buying.
Why Enrichment Toys Work (and What Your Dog Is Actually Getting Out of Them)
A dog that digs up your garden isn’t bored in a vague, philosophical sense — it’s under-stimulated in a very specific way. Physical exercise burns calories; mental work burns mental energy. The two aren’t interchangeable. A 45-minute walk tires a dog’s body. A 15-minute foraging session tires its brain. Both matter, and most pet owners over-invest in walks while ignoring the cognitive side entirely.
Enrichment toys work by triggering the dog’s seeking system — the neurological drive to search, sniff, and problem-solve. When a dog works a snuffle mat or paws apart a muffin-tin puzzle, it’s engaging the same mental circuitry it would use hunting or scavenging. That’s why a dog can seem genuinely satisfied after a short enrichment session in a way it isn’t after passive play.
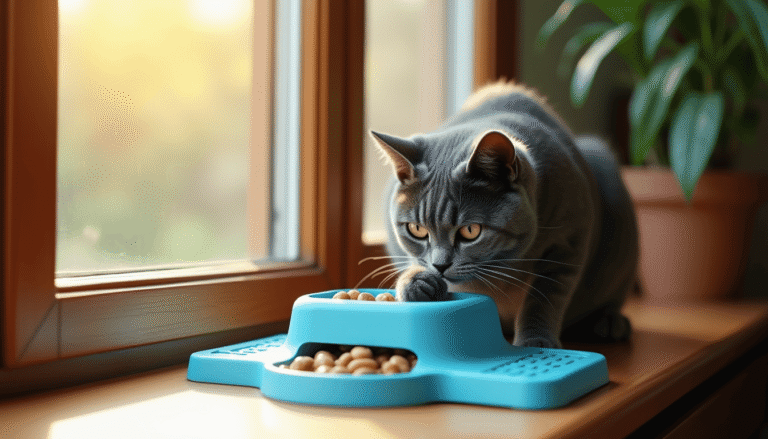
Match the toy type to your dog’s natural tendencies. Scent hounds like beagles and basset hounds respond best to nose-work toys — snuffle mats, buried kibble, scatter feeding. Herding breeds like border collies and Australian shepherds often prefer puzzle feeders that require sequential problem-solving. Terriers tend to love anything that involves digging or shredding. You don’t need to buy a specific product for each category; the DIY versions below cover all of them.
According to the AKC, mental stimulation is a core component of a dog’s overall well-being, not an optional add-on. If your dog is destructive, anxious, or clingy, enrichment is often the first practical lever worth pulling before more intensive interventions.
5 DIY Dog Enrichment Toys You Can Build in Under 10 Minutes
These use items most households already have. No glue guns, no sewing, no special tools.
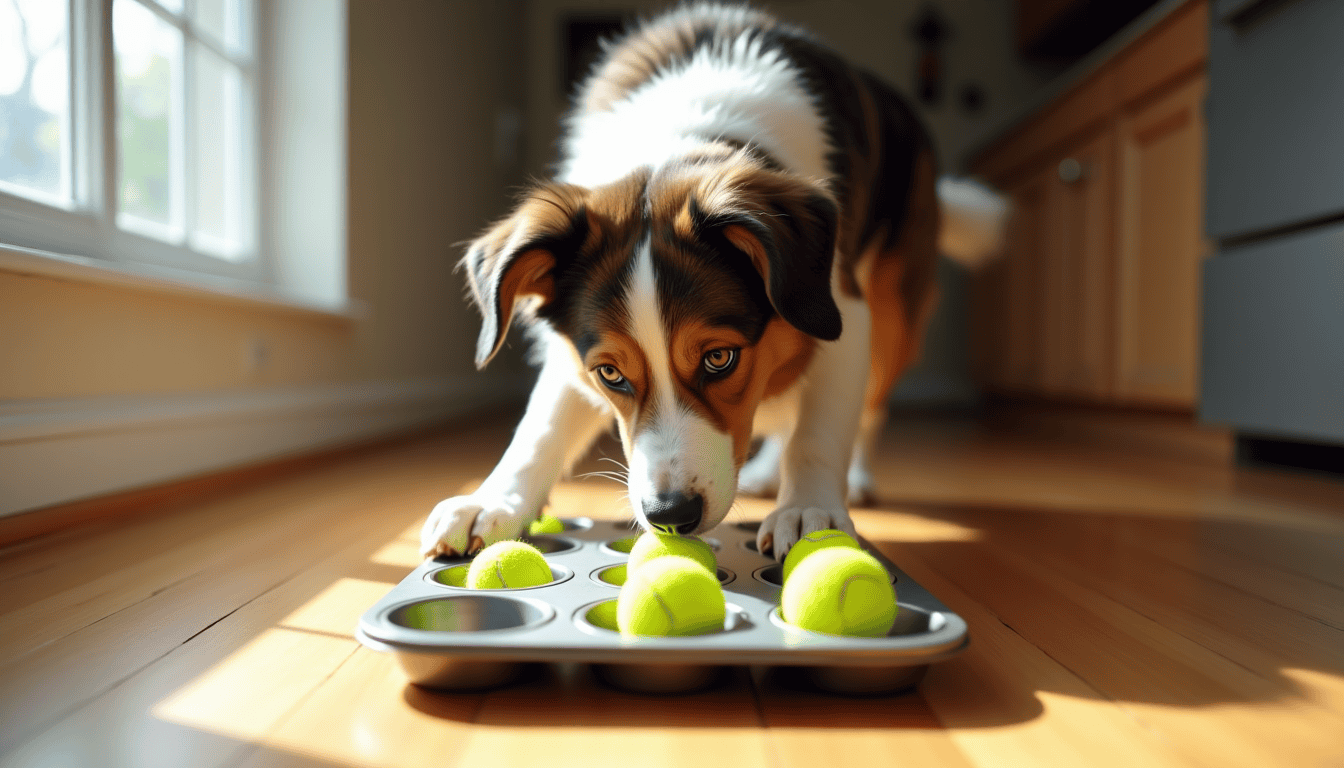
1. Muffin Tin Puzzle
Drop a piece of kibble or a small treat into each cup of a standard 12-cup muffin tin. Cover each cup with a tennis ball. Your dog has to nose or paw the balls off to get the food. Start with only a few cups covered so the dog understands the game, then increase difficulty. Use a metal tin, not silicone — silicone flexes and some dogs learn to flip the whole thing rather than solving it cup by cup.
2. Towel Roll Forager
Lay a hand towel flat, scatter kibble across the surface, then roll it into a loose cylinder. Tuck the ends under. Your dog has to unroll it to reach the food. This works especially well for dogs that are new to enrichment — the difficulty is low, the reward is immediate, and it builds confidence for harder puzzles later.
3. Egg Carton Sniff Box
Take a cardboard egg carton, drop a treat into two or three of the twelve cups, and close the lid. Let your dog sniff out which cups have food and paw or nose the carton open. Supervise this one — some dogs shred the cardboard, which is fine in moderation, but you don’t want them eating large pieces.
4. Plastic Bottle Roller
Remove the cap and label from a clean, dry plastic water bottle. Add a handful of kibble. As your dog bats it around, kibble falls out. It’s loud, which some dogs love and some hate — test it before leaving your dog alone with it, and always remove it when you leave the room since the bottle can crack into sharp pieces under persistent chewing.
5. Frozen Stuffed Kong Alternative
No Kong? Use a silicone cupcake mold. Mix plain yogurt, mashed banana, and a spoonful of peanut butter (xylitol-free — ASPCA lists xylitol as toxic to dogs). Pour into the mold, freeze overnight. Pop one out and hand it over. The licking action is self-soothing for anxious dogs and keeps them occupied for 10–20 minutes depending on size.
Building DIY Dog Enrichment Toys That Actually Challenge Your Dog
Most dogs solve beginner puzzles within a week. The muffin tin stops being interesting once your dog has memorized the format. To keep enrichment genuinely stimulating, you have to introduce novelty — new formats, new smells, new physical mechanics.
Here are five intermediate builds that require a bit more setup but meaningfully raise the difficulty:
6. Snuffle Mat from a Rubber Sink Mat
Buy a rubber sink mat with holes (the kind with a grid pattern). Cut fleece fabric into strips about 1 inch wide and 6 inches long. Tie a strip through each hole, knotting it on the underside. Scatter kibble into the fleece tufts. This is a genuine snuffle mat — commercially available versions cost $25–$40; the DIY version costs about $8 in materials and takes 45 minutes to assemble. Wash it in a mesh laundry bag on a gentle cycle every week or so to prevent mold in the fabric.
7. Box-in-a-Box Forager
Nest three or four cardboard boxes inside each other, smallest in the center. Hide a treat in the innermost box. Your dog has to open each layer to reach the reward. Use boxes that haven’t held food — cereal boxes, shoe boxes, Amazon shipping boxes all work. This mimics the kind of sequential problem-solving that puzzle boards provide at a fraction of the cost.
8. PVC Pipe Kibble Roller
A 12-inch section of 2-inch PVC pipe (capped at both ends with removable end caps) becomes a rolling kibble dispenser. Drill four or five small holes along the length — just wide enough for a piece of kibble to fall through when the pipe rolls. Fill with dry kibble, cap both ends, and let your dog roll it around the floor. The caps make it easy to refill and clean. This one lasts for years.
9. Muffin Tin Upgrade: The Stacked Puzzle
Take two muffin tins. Place treats in the bottom tin, then flip the second tin upside down on top of it. Your dog has to figure out how to separate the tins to access the food. It sounds simple, but dogs that haven’t encountered this specific mechanic are genuinely stumped for several minutes. You can add weight to the top tin by setting a book on it briefly at first, then removing it as your dog improves.
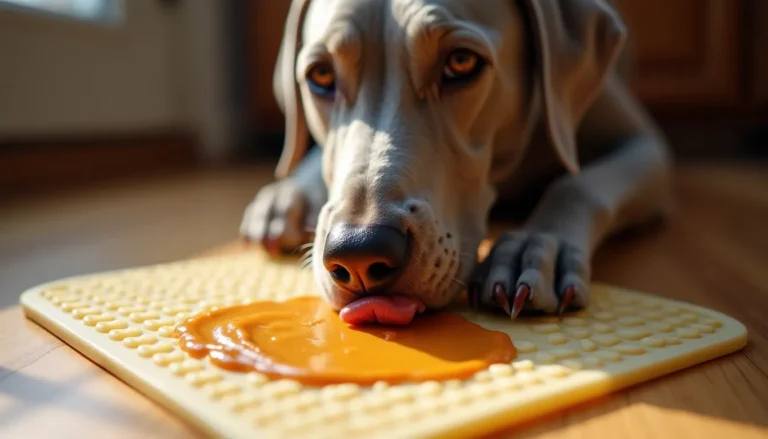
10. Lick Board
Spread a thin layer of plain pumpkin puree or unsweetened peanut butter across a small wooden cutting board. Freeze for two hours. Hand it to your dog. The licking action triggers a calming response — it’s one of the most effective tools for dogs that struggle with car rides, vet visits, or thunderstorms. Use a board designated only for the dog and wash it with dish soap after every use.
Safety Rules That Keep DIY Toys From Becoming Emergencies
Three things cause the most problems with homemade enrichment toys: wrong materials, unsupervised access, and toys that are too small for the dog’s size.
- No string, yarn, or ribbon inside toys. If ingested, linear foreign bodies can cause intestinal bunching — a surgical emergency.
- Size the toy to the dog. A toy built for a labrador is a choking hazard for a chihuahua. If your dog can fit the entire object in its mouth, it’s too small.
- Supervise shredding toys. Cardboard, paper, and fabric toys are fine for supervised sessions. Don’t leave your dog alone with them — most dogs will eat the material once the food is gone.
- Check plastic for cracks. Cracked plastic bottles and broken PVC caps have sharp edges. Inspect before each use and retire anything that’s cracking.
- Rotate, don’t accumulate. Leaving all ten toys available at once kills novelty. Keep three or four out, swap the rest in weekly.
If your dog swallows something it shouldn’t, contact your vet or the ASPCA Animal Poison Control Center immediately. Don’t wait to see if symptoms develop.
How to Know When DIY Isn’t Enough Anymore
A dog that solves your best homemade puzzle in under 90 seconds, every time, for three weeks running, has outpaced what cardboard and muffin tins can reliably offer. That’s a good problem — it means your dog is genuinely engaged and cognitively capable. It’s also the moment to consider purpose-built puzzle feeders with adjustable difficulty levels.
The other signal is safety. Some dogs are aggressive chewers who destroy cardboard in seconds, swallow fabric strips, and crack plastic bottles. For these dogs, DIY toys create more risk than enrichment. Heavy-duty rubber feeders, stainless steel puzzle bowls, and commercial snuffle mats made from washable, non-toxic materials are better fits.
You don’t have to choose one or the other. Most owners use a mix: homemade options for daily feeding enrichment (because you’re not going to buy a new toy every day), and one or two quality commercial products for higher-difficulty sessions or travel. The goal is a dog that gets regular mental work — the specific tool matters less than the consistency.
Our Picks
When DIY hits its limits, these three product categories are worth the investment:
- Multi-level sliding puzzle feeder board — Adjustable difficulty means you can increase the challenge as your dog improves, something flat muffin-tin puzzles can’t replicate.
- Silicone lick mat with suction base — Sticks to tile or the side of a bathtub, which keeps it stable during grooming sessions or bath time when your dog needs a distraction.
- Rubber treat-dispensing chew toy — Built for power chewers who destroy plastic bottles in minutes; the thick rubber holds up to sustained chewing and is dishwasher-safe.
FAQ
How long should a dog spend on an enrichment toy each day?
Most dogs benefit from two or three short enrichment sessions of 10–20 minutes each, rather than one long session. Watch for signs of frustration — pawing aggressively, barking at the toy, or walking away — which signal the difficulty is too high or the session is running too long. End on a success so the dog stays motivated.
Are DIY dog enrichment toys safe for puppies?
Yes, with modifications. Puppies chew more aggressively and swallow things more readily than adult dogs. Stick to soft fabric toys (supervised), frozen lick molds, and shallow snuffle mats for puppies under six months. Avoid hard plastic rollers and cardboard shredding toys until your puppy has reliable “leave it” and “drop it” responses.
What household foods are safe to use inside enrichment toys?
Plain pumpkin puree, unsweetened peanut butter (no xylitol), plain cooked chicken, plain yogurt, mashed banana, and your dog’s regular kibble are all safe fillers. Avoid grapes, raisins, onions, garlic, macadamia nuts, and anything sweetened with xylitol. When in doubt, check the ASPCA’s toxic foods list before using a new ingredient.
My dog ignores enrichment toys — how do I get them interested?
Start with the easiest possible version: food scattered directly on a flat surface, no container at all. Once your dog is reliably sniffing for scattered kibble, introduce a single-layer toy like the towel roll. Dogs that have never done enrichment work sometimes need two or three sessions before they understand that interacting with the object produces food. Don’t rush the difficulty progression.
How often should I replace or rotate DIY enrichment toys?
Rotate the toys your dog has access to every three to five days to maintain novelty. Replace cardboard and paper toys after each use — they’re single-session items. Fabric toys should be washed weekly and replaced when they start to fray significantly. Hard plastic and PVC toys can last months if you inspect them regularly for cracks.
Start With One Toy Today
Pick the muffin tin puzzle — you almost certainly have one — and use it for your dog’s next meal instead of a bowl. That single swap introduces your dog to the concept of working for food, which makes every other diy dog enrichment toy on this list easier to introduce. Once your dog is reliably engaging with one toy, add a second format the following week. Consistency over a few weeks matters far more than building all ten toys at once. Your dog’s brain will thank you for it, even if it can’t say so — it’ll just stop rearranging your couch cushions.